
Hey people, I have created some awesome wallpapers recently and I have decided to be nice and share about how these were done. The above design was actually inspired by Facebook as you might have guessed from the logo. So how exactly did I create that metallic logo?
1) Firstly, select the rounded rectangle tool and hold down the shift key to draw a square with rounded sides. Make sure that the foreground color is grey.
2)Right click the layer and select blending options and make the following changes:
(Click to enlarge in new tab)
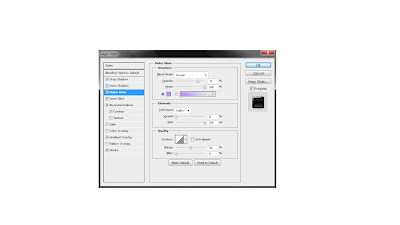
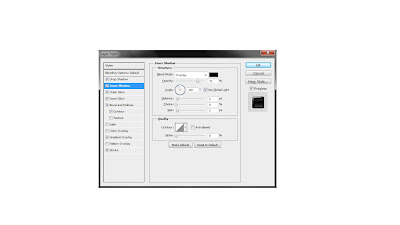
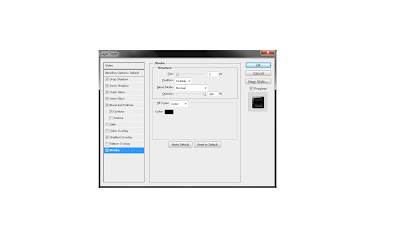
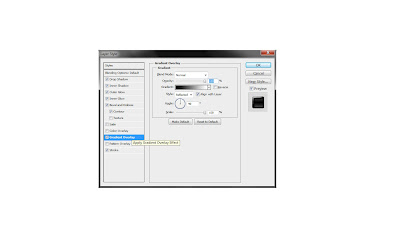
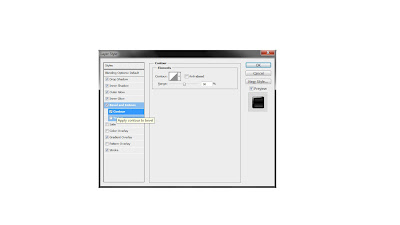
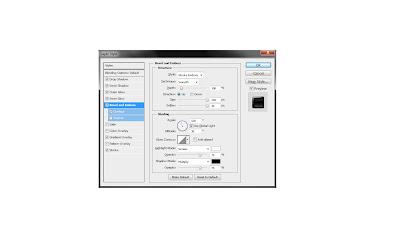
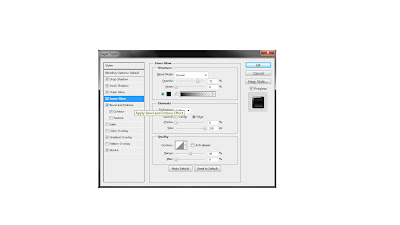
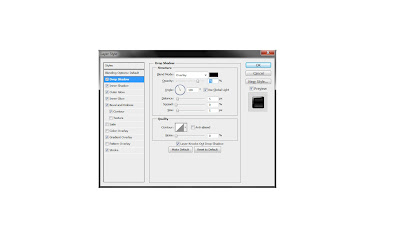 3) After you are done with the metallic button, create a new text layer and input the letter you desire.
4) Following which, change the blending options as shown below:
5) Finally, add some text such as a tagline and your completed wallpaper should look something like the one shown below:

Here is another wallpaper that I have created using Photoshop with a more original, game like feel. To find out how this was done, come back to check out the next few posts where I will describe it in greater detail.
Looking back, I am not sure if I can give a full tutorial on the red wallpaper. It is a lot more complex and would take a lot of screen estate to explain. But i'll try anyway.


No comments:
Post a Comment